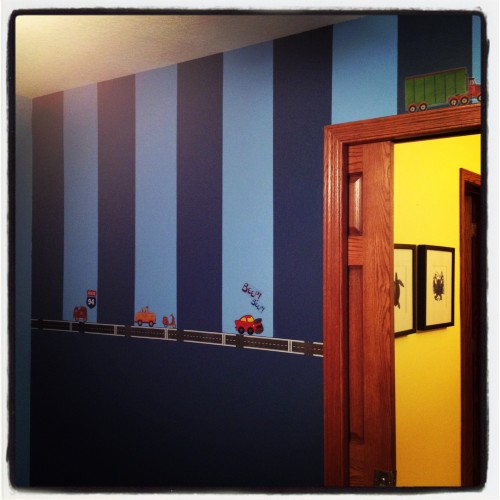
so it's no surprise to any of us that it's freezing outside and that means we're spending tons of time inside…that's when the creative ideas start to flow! I love saving money and I can't wait to share my fun-finds with you in the DYI post!

 I'm creative, but not when it comes to my house...I get really nervous about making big changes and spending money on stuff I may not like. But I have ideas and so I tried to do some of my painting projects on a extremely low budget! You can't really beat updating 2 rooms for $36…right?
And that's truly all I spent! A gallon of paint, a roll of blue tape and a brush! (we already had the roll stuff at home)
So, I've been posting my projects and getting a ton of questions about the paint and the "how to do it?" So, thus the blog post!
Here's my creative process!
Step 1 - Have a trusted creative friend (or two) walk through your house with you. If you're not sure who this is in your life ask anyone who's house you've been in and love. Chances are they would love to help you! Tell them everything you love and hate about the current decor…listen to them and their suggestions. (thank you Anna and AJ)
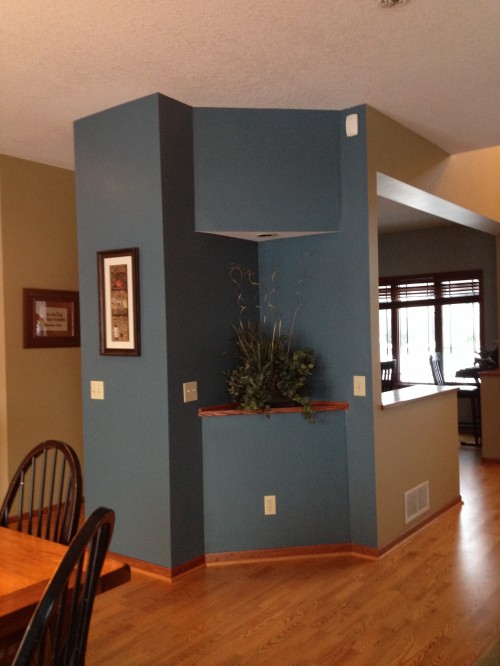
Step 2 - Set aside time to do it! (Pinterest is awesome, but pinning pretty pictures doesn't change my home - I WISH!). So, I packed up the kids and went to Home Depot. I got one gallon of Benjamin Moore - Bella Blue - did you know they can type in and color and mix for you right there? Love America! And how did I know I would love it you may ask? Well, I saw it in my friends house (thank you Shannon Lindsay!) and said, "Do you mind if I copy this color?" I'm a visual person and need to see it on a wall before I know if I like it. AND, as I already mentioned, I'm scared of making a mistake.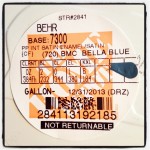
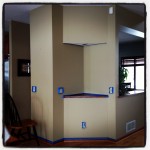
Step 3 - Prep your little heart out. I don't know about you but when's there paint sitting in my house I want to "get 'er done" but I took my time and tape every last inch! Then the actual painting was a piece of cake! Done in a day. It only took 2 coats to cover the old color.
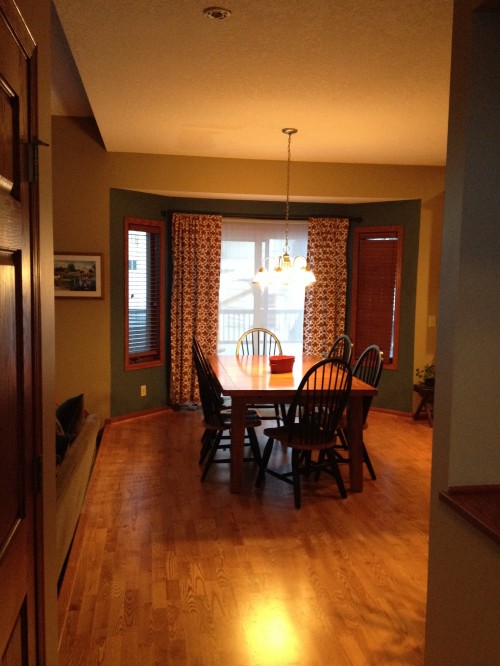
Step 4 - (This is where it gets interesting.) Reuse your color! What do I mean? Well, my son's room has been destroyed by every transforming, lego created, monster truck smashing thing you can imagine…it needed healing. But, the Bella Blue didn't match so I went back to home depot and for free they added color until it was dark blue! I brought it home and started project #2!
(side note: you will need the proper repair stuff when attempting a boy's room!)
Step 5 - Repeat step 2 and 3!
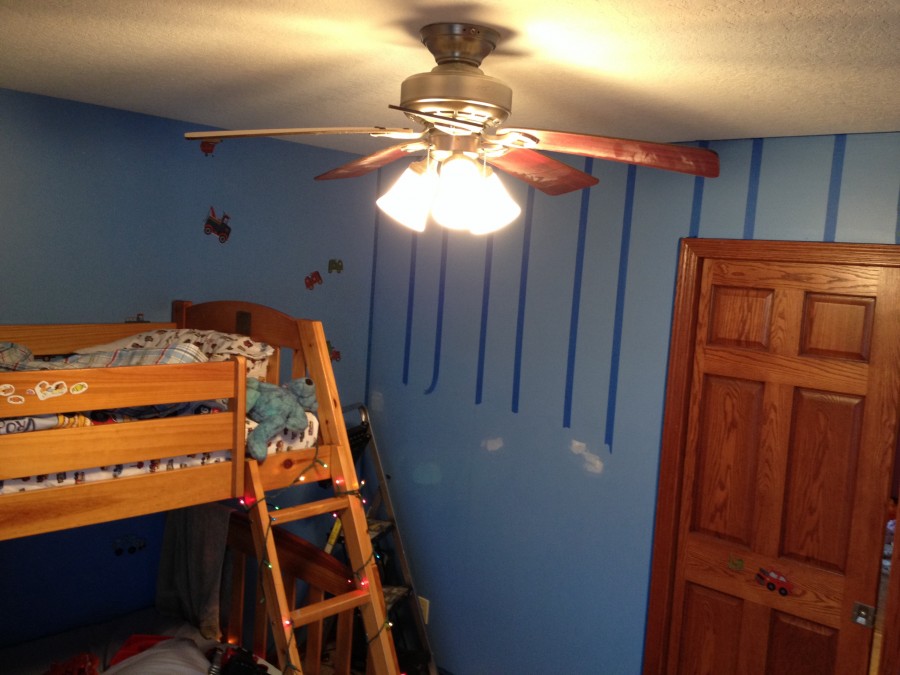
Step 6 - add decorations to complete the look!
I love how painting changes the feel of a room and I did both projects in 3 days! I'm loving the finished DYI projects and had to admit I kinda want to keep going! What update do you want to attempt next?